Adding dimmer switches to your home can instantly elevate the ambiance and functionality of your lighting. Whether you want to create a cozy atmosphere in the living room or adjust the brightness for different tasks in the kitchen, installing dimmer switches is a straightforward project that can be completed in just a few simple steps. In this DIY guide, we’ll walk you through the process of installing dimmer switches in your home.
Tools and Materials:
• Dimmer switch
• Screwdriver (flathead or Phillips, depending on the screws)
• Wire stripper
• Voltage tester
• Electrical tape
• Wire nuts
• Safety glasses
• Work gloves.
Step 1: Safety First: Before you begin any electrical work, it’s crucial to ensure your safety. Turn off the power to the circuit you’ll be working on at the main electrical panel. Use a voltage tester to double-check that the power is off before proceeding. Safety glasses and work gloves should be worn throughout the installation process.
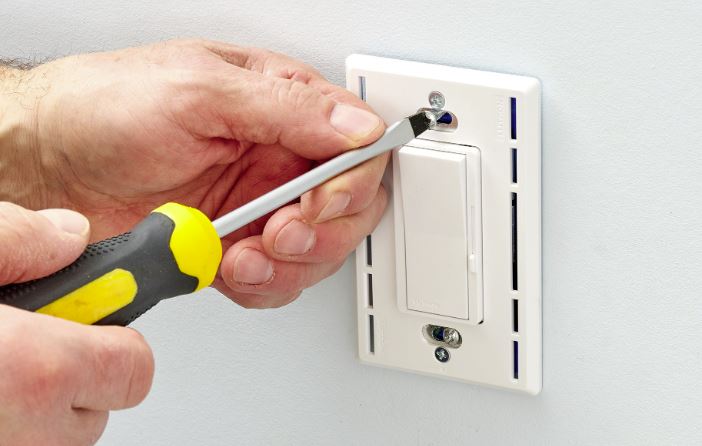
Step 2: Remove the Existing Switch Using a screwdriver, remove the screws securing the faceplate of the existing switch. Once the faceplate is removed, unscrew the screws holding the switch in place and gently pull it out from the electrical box. Take note of how the wires are connected to the switch for reference when installing the dimmer switch.
Step 3: Prepare the Wires Carefully disconnect the wires from the existing switch. You’ll typically find three wires: a black (hot) wire, a white (neutral) wire, and a bare copper or green (ground) wire. Use a wire stripper to strip about ¾ inch of insulation from the ends of each wire.
Step 4: Install the Dimmer Switch Attach the wires to the corresponding terminals on the dimmer switch. Typically, dimmer switches have two black wires (hot) and one green (ground) wire. Connect the black wire from the dimmer switch to the black (hot) wire in the electrical box using a wire nut. Connect the other black wire from the dimmer switch to the white (neutral) wire in the electrical box. Finally, connect the green wire from the dimmer switch to the bare copper or green (ground) wire in the electrical box.
Step 5: Secure the Dimmer Switch Carefully tuck the wires back into the electrical box, ensuring they are not pinched or damaged. Secure the dimmer switch to the electrical box using the screws provided with the switch. Double-check that all connections are tight and secure.
Step 6: Test the Dimmer Switch Once the dimmer switch is securely installed, turn the power back on at the main electrical panel. Test the dimmer switch by turning the knob or sliding the switch to adjust the brightness of the lights. If everything is working properly, replace the faceplate and secure it with the screws.
Congratulations! You’ve successfully installed dimmer switches in your home, adding versatility and style to your lighting fixtures. Remember to always follow safety precautions when working with electricity, and if you’re ever unsure about a step, don’t hesitate to consult a professional electrician. Enjoy your newly dimmable lights!